How to Make a Rye Sourdough Starter from Scratch (and Keep It Healthy)
There’s something deeply satisfying about baking with sourdough. Not only does it produce bread with a tangy depth of flavour and beautiful crust, it also connects you with a centuries-old tradition of cultivating wild yeasts and bacteria. I will show you how to make a Rye sourdough starter from scratch because at the heart of sourdough baking is your sourdough starter—a living culture that you nurture and maintain.
Rye flour is an excellent choice for creating and sustaining a sourdough starter. Because rye contains more enzymes and nutrients than wheat flour, it encourages faster fermentation and supports a diverse microbial ecosystem. This makes rye starters vigorous, resilient, and flavourful.
In this post, we’ll walk through:
- How to make a rye sourdough starter from scratch.
- How to keep it healthy long-term.
- Practical tips on refrigerating your starter to maximise flexibility.
By the end, you’ll have a confident understanding of how to start, care for, and store your rye starter, even if you’re new to sourdough.
Why Rye Flour?
Rye flour is rich in amylase enzymes, which break down starches into sugars that yeasts and lactic acid bacteria can consume. This means rye starters often bubble to life more quickly than wheat starters. Rye also tends to create a slightly earthier, tangier flavour profile, which many bakers love.
If you’re new to sourdough, rye flour is one of the best places to begin when making a starter from scratch. It ferments quickly, thrives in less-than-perfect conditions, and creates a strong, reliable starter. Once your starter is established, you can transition it to another flour base, such as bread flour, if that suits your baking style. The key is consistency: avoid switching flours back and forth, as a starter fed on rye won’t perform the same way if suddenly given white flour, and vice versa. For best results, stick to the same flour brand each time, and choose organic whenever possible to support a healthy, active culture.
Step-by-Step: Creating Your Rye Starter from Scratch
Here’s a simple process you can follow over the course of 5–7 days.
Day 1
- Mix 100g whole rye flour with 100g filtered or non-chlorinated water in a clean jar.
- Stir until there are no dry spots. The texture should be like thick batter.
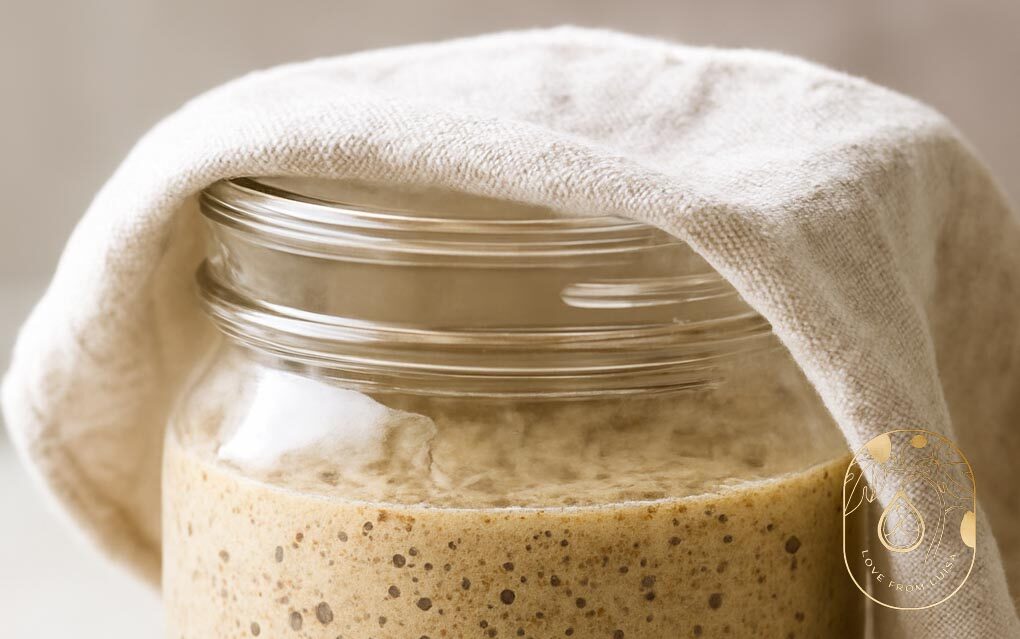
- Loosely cover with a lid or cloth (air should be able to escape, but bugs/dust should stay out).
- Leave at room temperature (ideally 21–26°C / 70–78°F).
Day 2
- You may or may not see bubbles yet—both are normal.
- Discard about half the mixture (roughly 100g).
- Add 50g rye flour and 50g water. Stir, cover, and rest again.
Day 3
- By now, you’ll likely see bubbles, smell some sour or fruity aromas, and notice the mixture rising.
- Discard half again, then feed with 50g rye flour and 50g water.
- Mark the jar with a rubber band to track growth. A healthy starter should double in 4–8 hours.
Day 4–5
- The starter should be active: bubbly, airy, and pleasantly tangy.
- Continue discarding and feeding daily. If it consistently doubles after feeding, it’s ready to bake with.
At this stage, you have a working rye sourdough starter.

Signs of a Healthy Starter
Your starter is alive, so it will show you how it’s feeling. Here are the signs of health:
- Bubbles and rise: A vigorous starter will expand and look airy.
- Pleasant smell: Notes of fruit, yogurt, or beer are good. Sharp, foul odors suggest imbalance.
- Doubling in size: Within 4–8 hours of feeding, your starter should noticeably rise.
If it seems sluggish, check the temperature (cool rooms slow things down), feed with a bit more flour, or use wholegrain rye to boost activity.
Feeding and Maintenance
Once your starter is established, maintaining it is straightforward. A common feeding ratio is:
- 1 part starter: 1 part flour: 1 part water (by weight).
So, if you keep 50g of starter, you’d feed it with 50g of flour and 50g of water.
Daily feedings are great if you’re baking often and keeping the starter at room temperature. But if you want more flexibility, refrigeration is your friend.
Storing Your Rye Starter in the Fridge
One of the best things about sourdough is its adaptability. You don’t need to feed your starter every day forever. By storing it in the fridge, you can stretch feedings to once a week or even longer, depending on your baking schedule.
Here’s how to manage it:
Short-Term Storage (Up to 1 Week)
- Feed your starter normally.
- Let it sit at room temperature for 2–3 hours so fermentation gets started.
- Place it in the fridge with a loose lid.
When you’re ready to bake, take it out the night before, let it warm up, and give it a fresh feeding.
Longer Storage (2–4 Weeks)
- Before refrigeration, feed it with a slightly thicker consistency (less water relative to flour). A stiff starter ferments more slowly and lasts longer in cold storage.
- Allow a few hours at room temperature to get fermentation going, then refrigerate.
- After long rests, you may need 2–3 feedings at room temperature to fully reactivate it.
Tips for Healthy Cold Storage
- Don’t seal too tightly: Starters produce CO₂, and you don’t want pressure building. A loose lid is perfect.
- Keep it in glass: Transparent jars let you monitor bubbles and rise.
- Feed before storage: Don’t refrigerate a starving starter. Always feed it first.
- Refresh before baking: Even if your starter survived the fridge, give it a feeding or two at room temperature before using in dough. This ensures maximum strength.
- Scrape down sides: Minimize dried bits by cleaning jar edges before storage.
Troubleshooting Rye Starters
Even with care, you might hit bumps along the way. Here’s what to look out for:
- Gray liquid (hooch) on top: This is just alcohol from hungry yeast. Stir it in or pour it off, then feed the starter.
- Unpleasant smell: If it smells putrid (not just sour), discard most and refresh with a larger feeding.
- Mold: Colored spots (pink, green, orange) mean contamination. Safest option: start over.
- Sluggish activity: Use whole rye for a boost, warm the starter (move it somewhere 75–80°F), or increase feeding frequency.
Advanced Tips for Flexibility
- Maintain a mother starter in the fridge and create a “levain” (a portion refreshed at room temperature) when you plan to bake. This reduces waste and keeps the mother strong.
- Dry some starter: Spread a thin layer of active starter on parchment, let it dry, and store flakes in a jar. This is a backup in case your live starter fails.
- Experiment with hydration: A stiff starter (more flour) ferments slowly and is more forgiving. A liquid starter (equal parts water and flour) is more active but needs frequent feeding.
- Use smaller amounts: You don’t need to maintain a huge jar. Even 20–30g of starter is enough; just scale feedings proportionally.
The Rhythm of a Rye Sourdough Starter Made from Scratch
Think of your starter as a companion to your baking routine. If you’re baking daily, keep it at room temperature and feed it every 12–24 hours. If you bake weekly, refrigerate it and refresh it before baking. If you bake rarely, store it cold and revive it over a couple of days when needed.
The beauty of sourdough is that it adapts to you. With rye flour, you get a resilient and flavorful starter that tolerates lapses, thrives in the fridge, and delivers bread with depth and character.
Recipes using your Rye Sourdough Starter:
You can use this starter for any sourdough bread recipe you like, or use it to make my delicious and healthy Rye Sourdough Banana Pancakes.
Final Thoughts
Making a rye sourdough starter from scratch isn’t complicated—it’s mostly flour, water, and patience. Keeping it healthy is about observing, feeding, and adjusting based on its behaviour. And with smart use of refrigeration, you can make your starter work on your schedule, not the other way around.
Once you’ve built a rhythm, your rye starter will be more than just a jar of bubbling dough—it will be a loyal kitchen partner, ready to help you bake bread that’s uniquely yours.